Use a waterbutt to store and recycle rainwater. It’s a fantastic way to be more environmentally friendly in your garden, improve the health of your plants and even save money! Learn more about how to install and use a waterbutt in your garden.
Why Use a Waterbutt?
The purpose of a waterbutt is to collect rainwater and store it for use in drier seasons or for indoor plants, but why might you consider using one?
Rainwater vs Tap Water
All plants, from grass on your lawn to houseplants, need water to survive—even specialist plants like cacti. While it’s possible to use tap water, rainwater is a healthier option for your plants.
Tap water is treated to make it safe for drinking. Various minerals are added to it, including fluoride in certain regions, for example, and chlorine to keep it clean. There are different varieties of tap water, from hard water to soft water. What kind of water you get through your tap depends on the region you live in.
Hard water has a higher pH than rainwater. Soft water is closer but can still have a higher pH because it is still treated to make it drinkable. This is a problem for soil, and the plants in soil, as it can cause ‘˜nutrient lockout’.
The wrong pH causes a reaction to occur between your plants and the nutrients in the soil, meaning that plants stop absorbing the right levels of all the different nutrients required. They no longer get the food they need to grow!
Rainwater on the other hand is pH neutral. Most plants that are kept outdoors will get all the water they need when it rains, but in drier conditions, or if you have indoor plants, you’ll need to water them using water that’s good for their health! This is where waterbutts come in.

Advantages of Using a Waterbutt
Waterbutts allow you to:
- Improve the health of your plants
- Water your garden during dry periods – even during hosepipe bans
- Be more environmentally friendly
- Reduce the cost of water bills
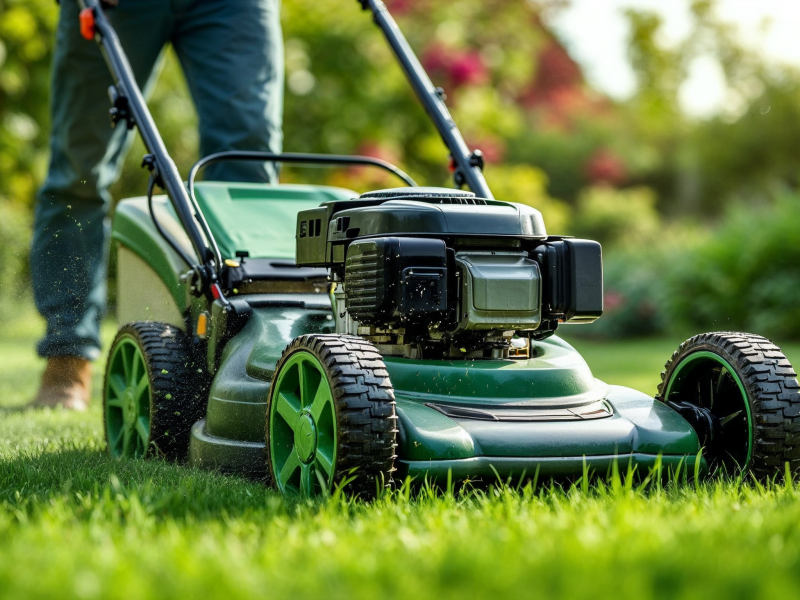
It can be hard to keep your grass green and healthy during dry months, particularly in summer. If you want some tips and advice, talk to an expert from Greensleeves! Our spring or summer lawn care treatment might be the ideal solution for you!
Using Your Waterbutt
You can use a waterbutt to:
- Water plants, both indoor and outdoor — including your lawn when the weather’s dry!
- Clean gardening equipment
- Replenish pond levels during dry periods
- Wash your car
You shouldn’t use your waterbutt for anything that you consume, such as washing vegetables or other food preparation, as the water isn’t clean enough for humans to drink.
How To Install a Waterbutt
The best way to collect rainwater is through a downpipe connected to a waterbutt. The downpipe collects water from your gutters into the waterbutt, which stores it for when it’s needed.
You need:
- A waterbutt – you can buy a waterbutt from most garden centres. It’s important that it has a lid to keep insects out and a lockable tap.
- A waterbutt stand
- Rainwater Diverter
You can also use a connector kit to connect two water butts together or a waterbutt pump that creates pressure in your waterbutt, but neither of these are needed for normal installation!
1. Choose a Downpipe
Choose a downpipe, a pipe that goes down from your gutter, which is in a suitable place to have your waterbutt. Put the waterbutt stand beneath it.
2. Mark and cut the pipe
Put your waterbutt onto the stand and mark the place on the pipe where the waterbutt reaches.
Use a hacksaw to cut the pipe 3cm below the mark.
3. Attach the diverter
Attach the rainwater diverter to the bottom of the newly cut pipe and insert the cut off end into the bottom. In effect, you are putting the pipe back together but with the diverter in the middle.
4. Drill into the Waterbutt
Use a tape measure to mark 8cm down from the top of the waterbutt, on the side that will face the pipe. This is where you will attach your waterbutt to the diverter.
Drill a hole for the waterbutt connector on this mark.
5. Attach the Connector and Secure
Push the connector through the drilled hole to attach it to the waterbutt and secure the fittings which your waterbutt would have come with into place.
6. Connect the Waterbutt and Divertor
Connect the waterbutt to the divertor using the fittings that came with your waterbutt. Put the lid on, locking it into place.
Your waterbutt is ready to start collecting water!
Why not check out more blogs from Greensleeves Lawn Care? We have loads of gardening information and top tips.